The deep skills: making fire, working metal, rendering light and soap and cordage from what you have, and building the bench you do it all on. These are the crafts that mean you can make and mend instead of buy and replace. The homestead that can make its own tools is truly off the grid.
Tools · FireFire by Friction & Spark
Making Fire
Everything else starts here. Know five ways to make fire, so you always have one.
DifficultyBeginner-Hard
TimePractice
CostNear zero
SkillsTechnique
The methods
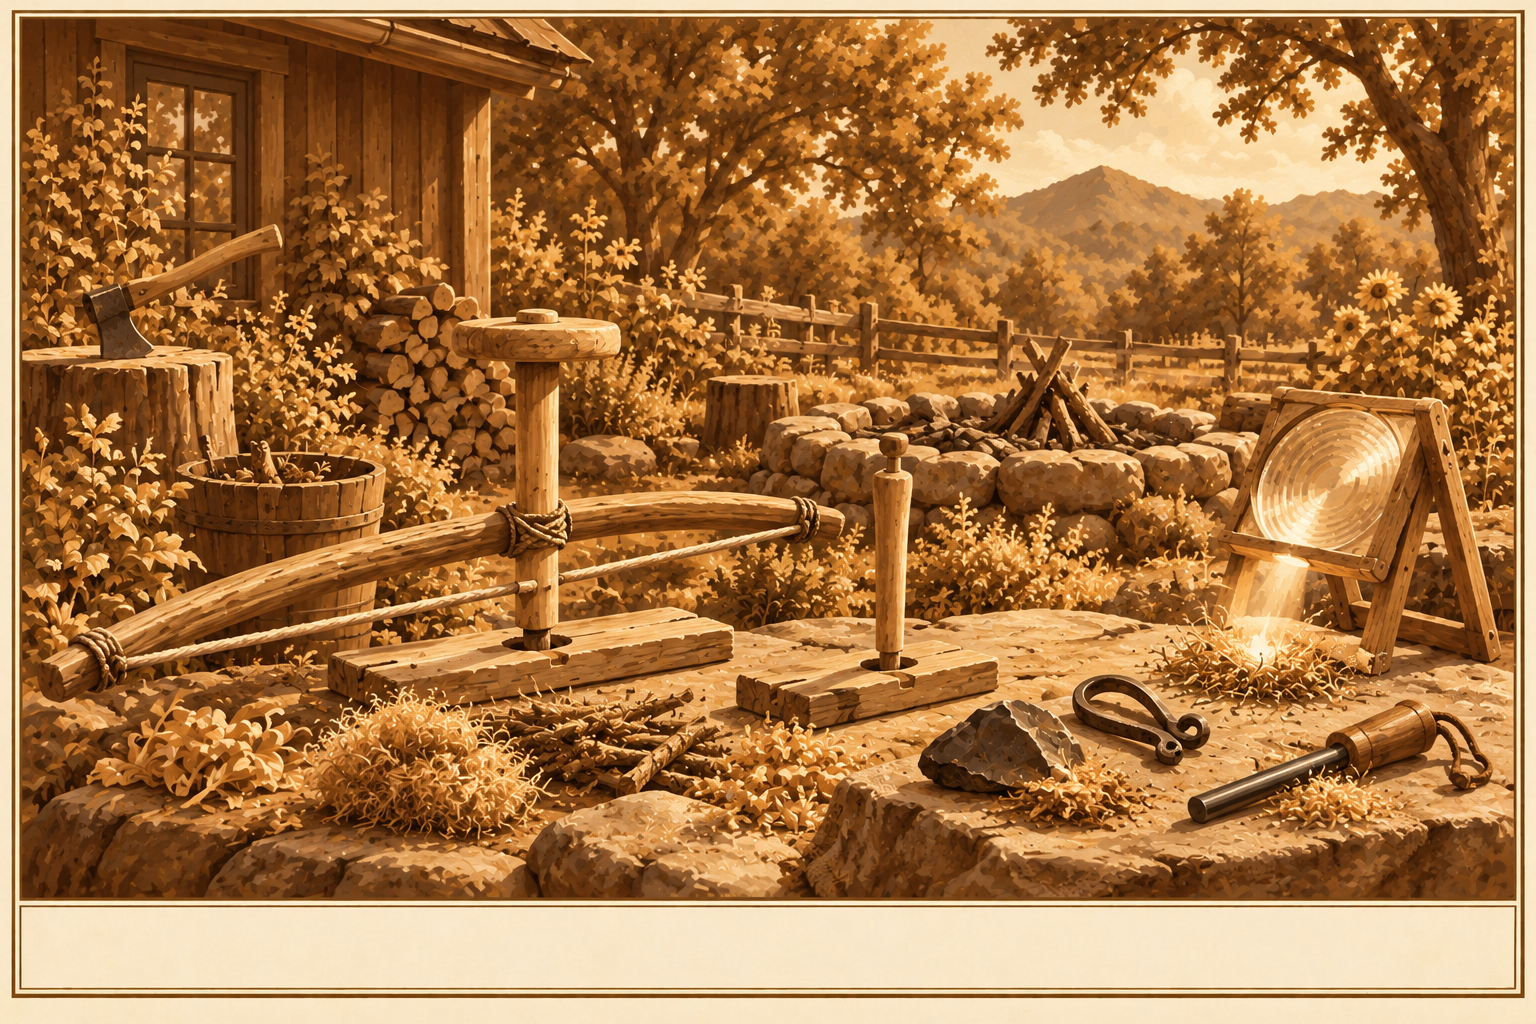
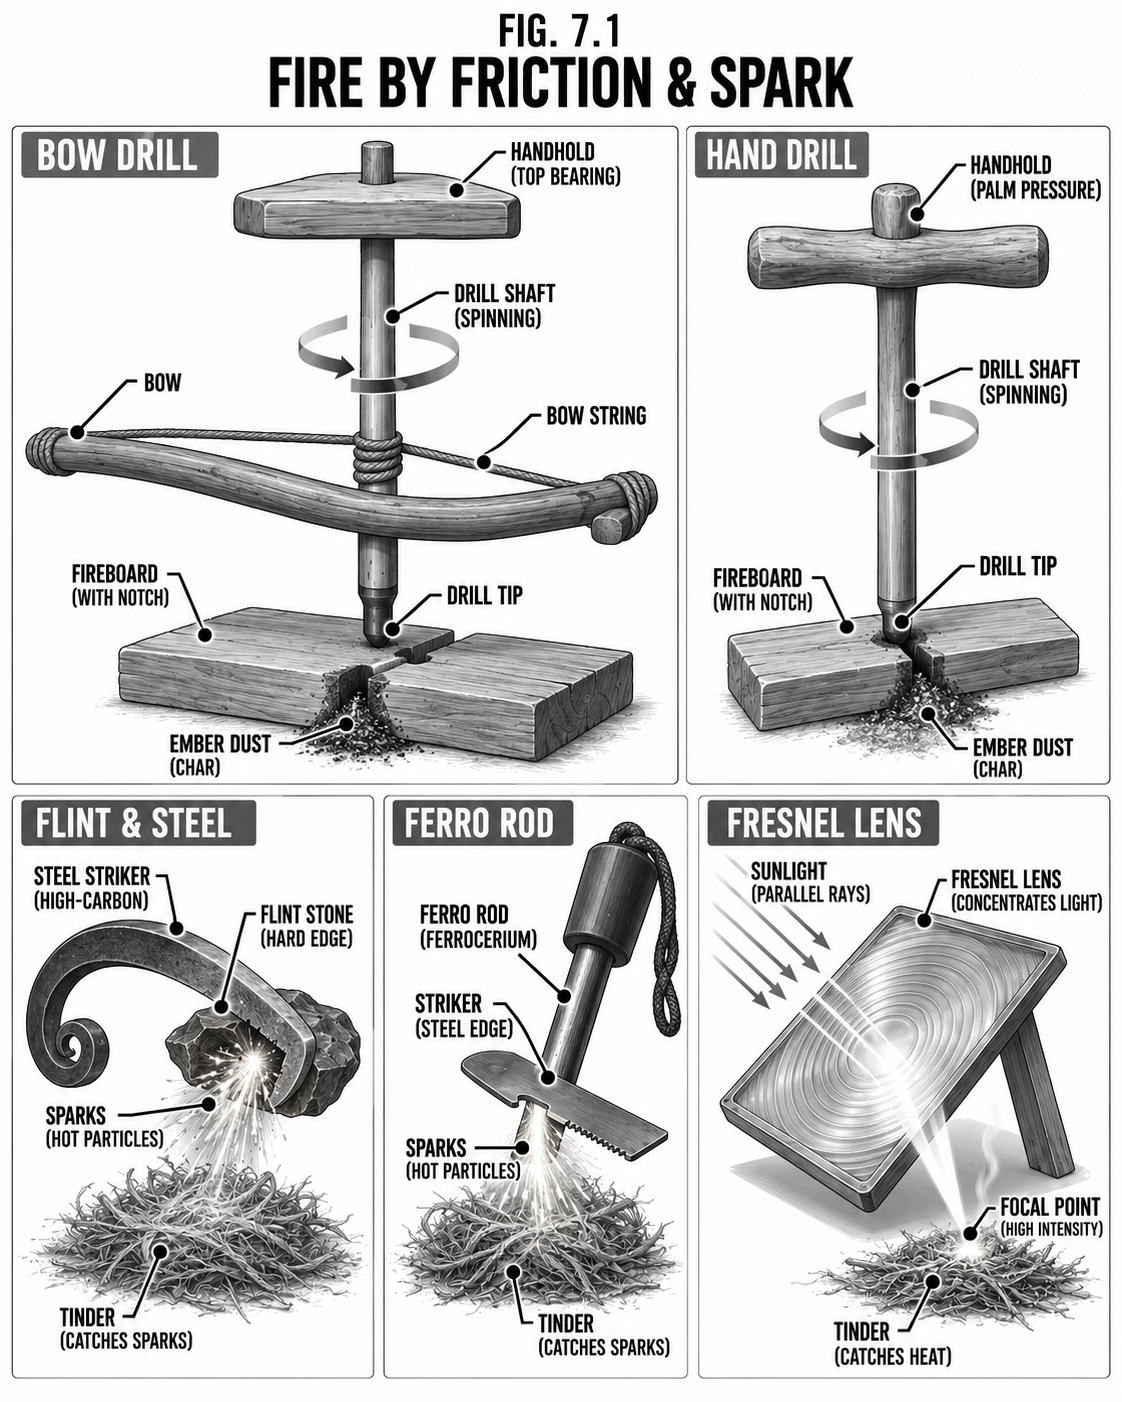
Ferro rod: the reliable modern default; scrapes a shower of hot sparks in any weather. Keep two.
Bow drill / hand drill: friction fire from wood alone; hard-won skill, but it needs nothing you cannot find.
Fresnel lens / magnifier: free fire from the sun on a clear day.
Always
Prepare a tinder bundle (fine, dry, fluffy) BEFORE you make the spark.
Build from tinder to kindling to fuel; have it all ready first.
Keep dry tinder and two spark sources on you at all times in the bush.
Safety & code Clear a fire ring down to bare earth, keep water or dirt to hand, and never leave a fire unattended. Friction and spark fires still need respect; a loose ember in dry duff spreads fast.
Tips & variations Make char cloth from scrap cotton in a sealed tin on the stove; it catches the faintest spark.
Tools · MetalForge & Knife
Forge, Knife Making & Heat Treat
A fire, some air, and an anvil: now you can make and mend steel.
DifficultyIntermediate-Advanced
TimeDays
CostLow
SkillsFire + hammer control
Why it is worth it
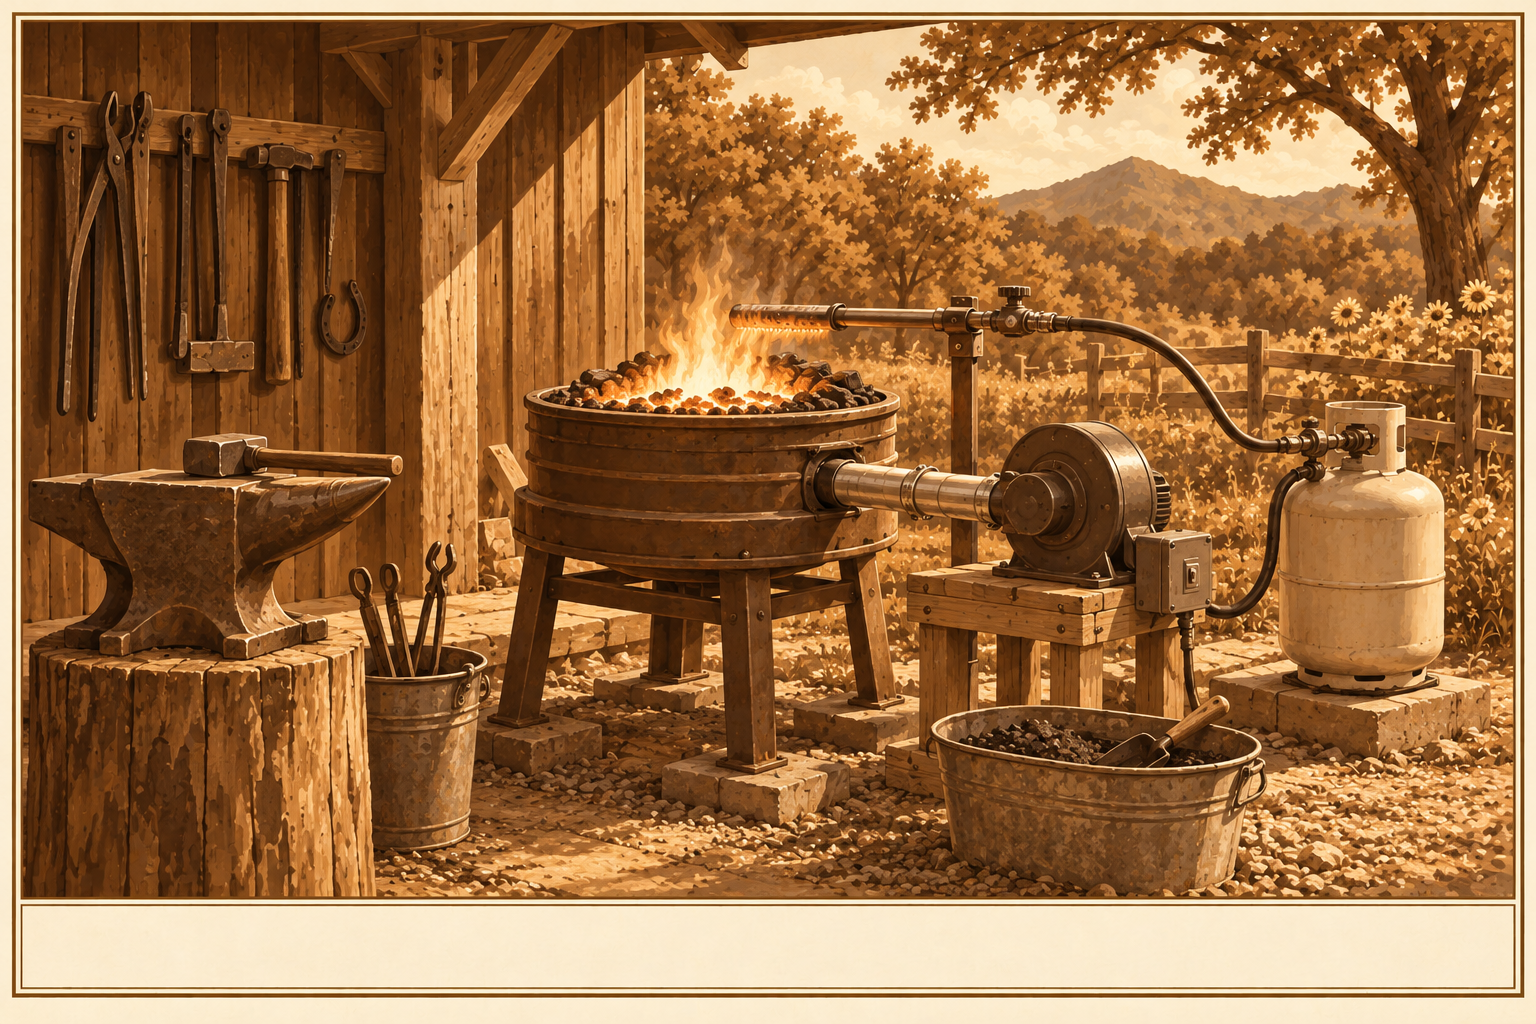
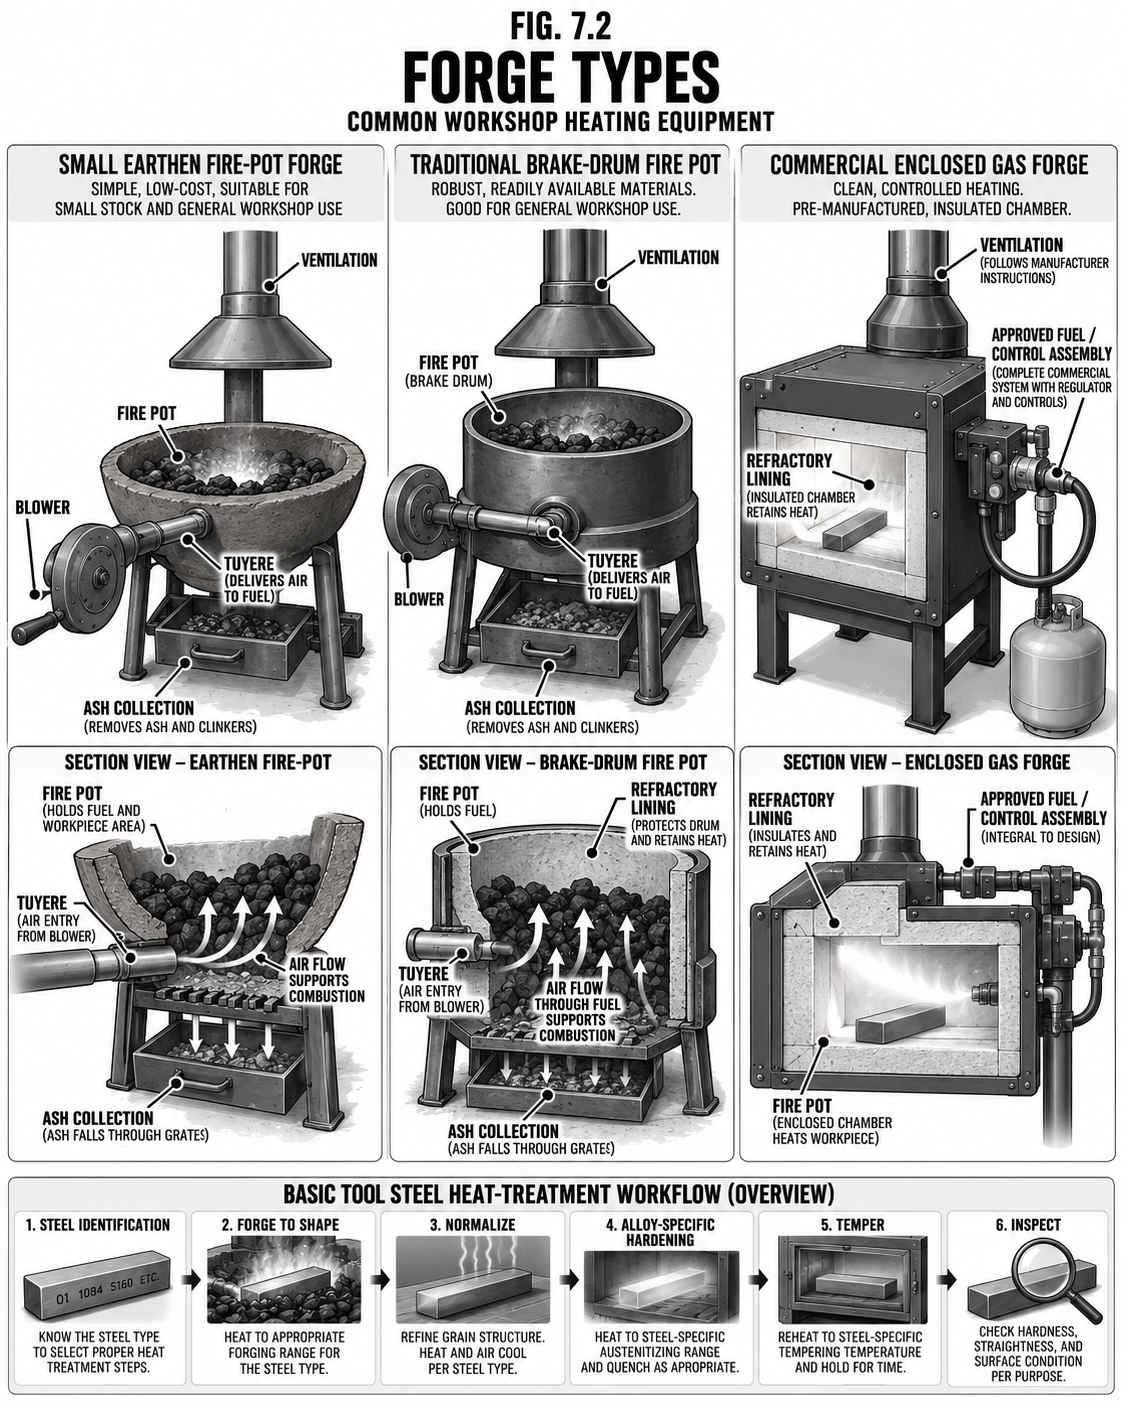
A simple forge (a brake drum or a JABOD, "just a box of dirt," with a pipe for air) gets steel hot enough to shape. With it you can forge and repair tools, hooks, hinges, and knives from scrap steel, leaf springs, and old files. The skill is controlling the fire and the hammer, and then the heat treat that makes a blade hold an edge.
Step by step
Build a fire pot with a tuyere (air pipe) and a blower (hand crank or fan).
Heat steel to bright orange and shape it on the anvil while hot.
For a blade: forge the shape, normalize, then harden (heat to non-magnetic, quench) and temper (gentle reheat to a straw color to remove brittleness).
Safety & code Hot steel looks exactly like cold steel, so assume everything near the forge is hot. Wear eye protection, cotton or leather (never synthetics that melt), and ventilate: solid-fuel forges make carbon monoxide, so work outdoors or with real airflow. Quench tanks and scale burn.
Tips & variations Old files and leaf springs are high-carbon steel that hardens well; practice heat treat on scrap before a real blade.
Tools · EdgeSharpening
Sharpening
A sharp tool is a safe, fast tool. The one skill that makes every other one easier.
DifficultyBeginner
TimeMinutes
CostLow
SkillsSteady angle
Why it is worth it
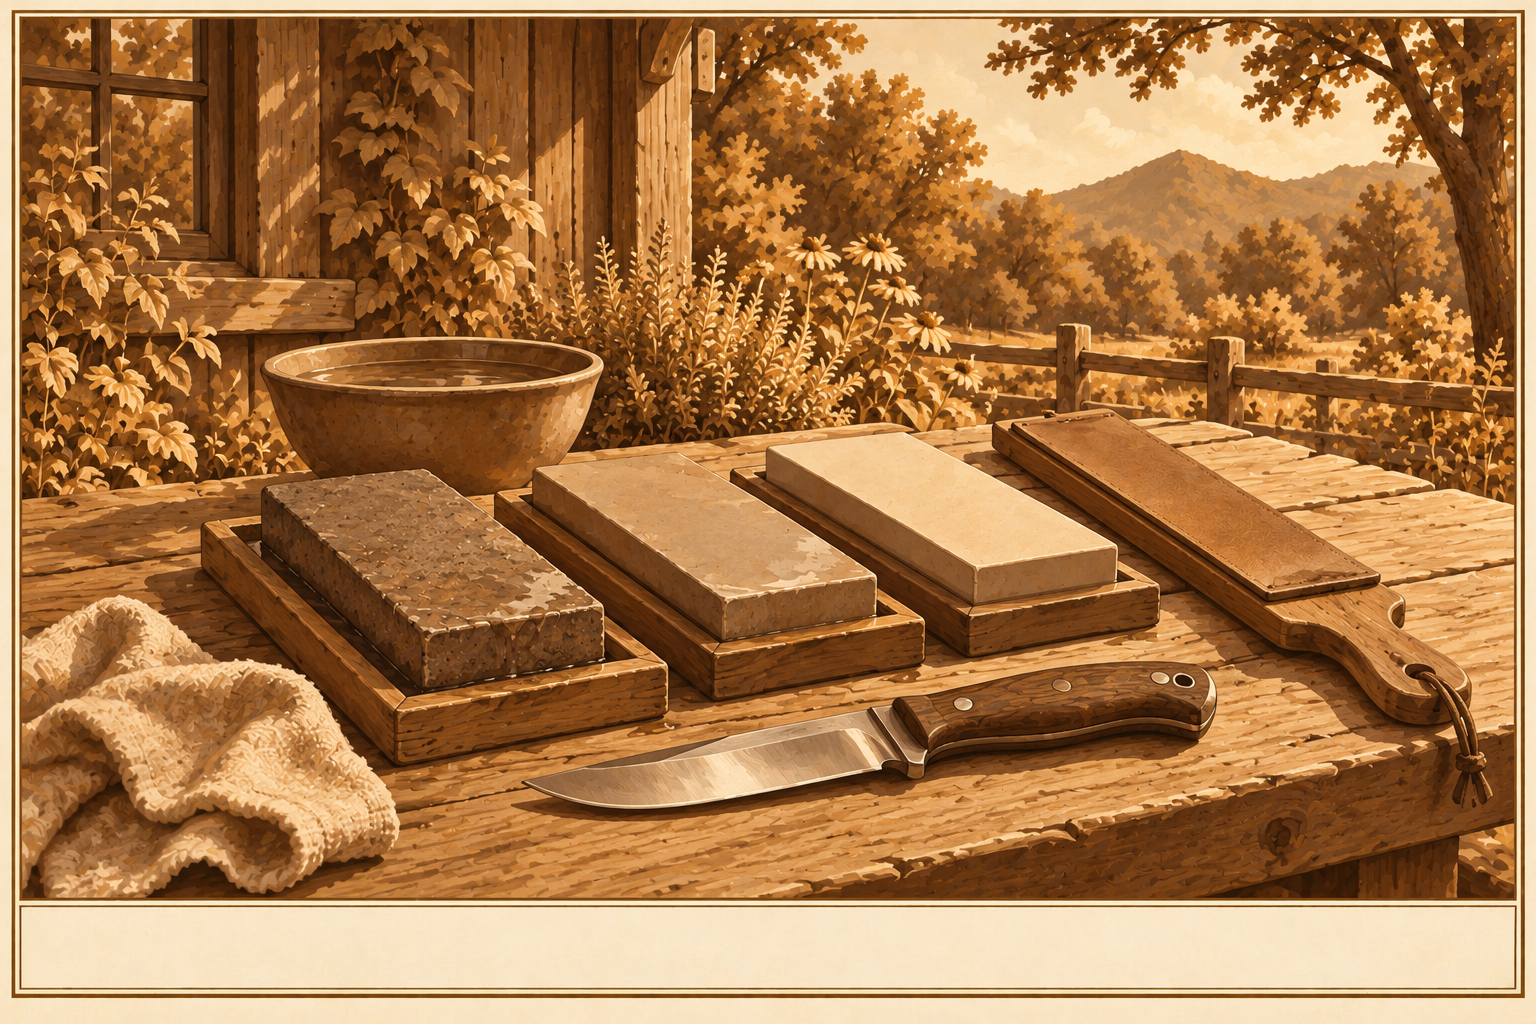
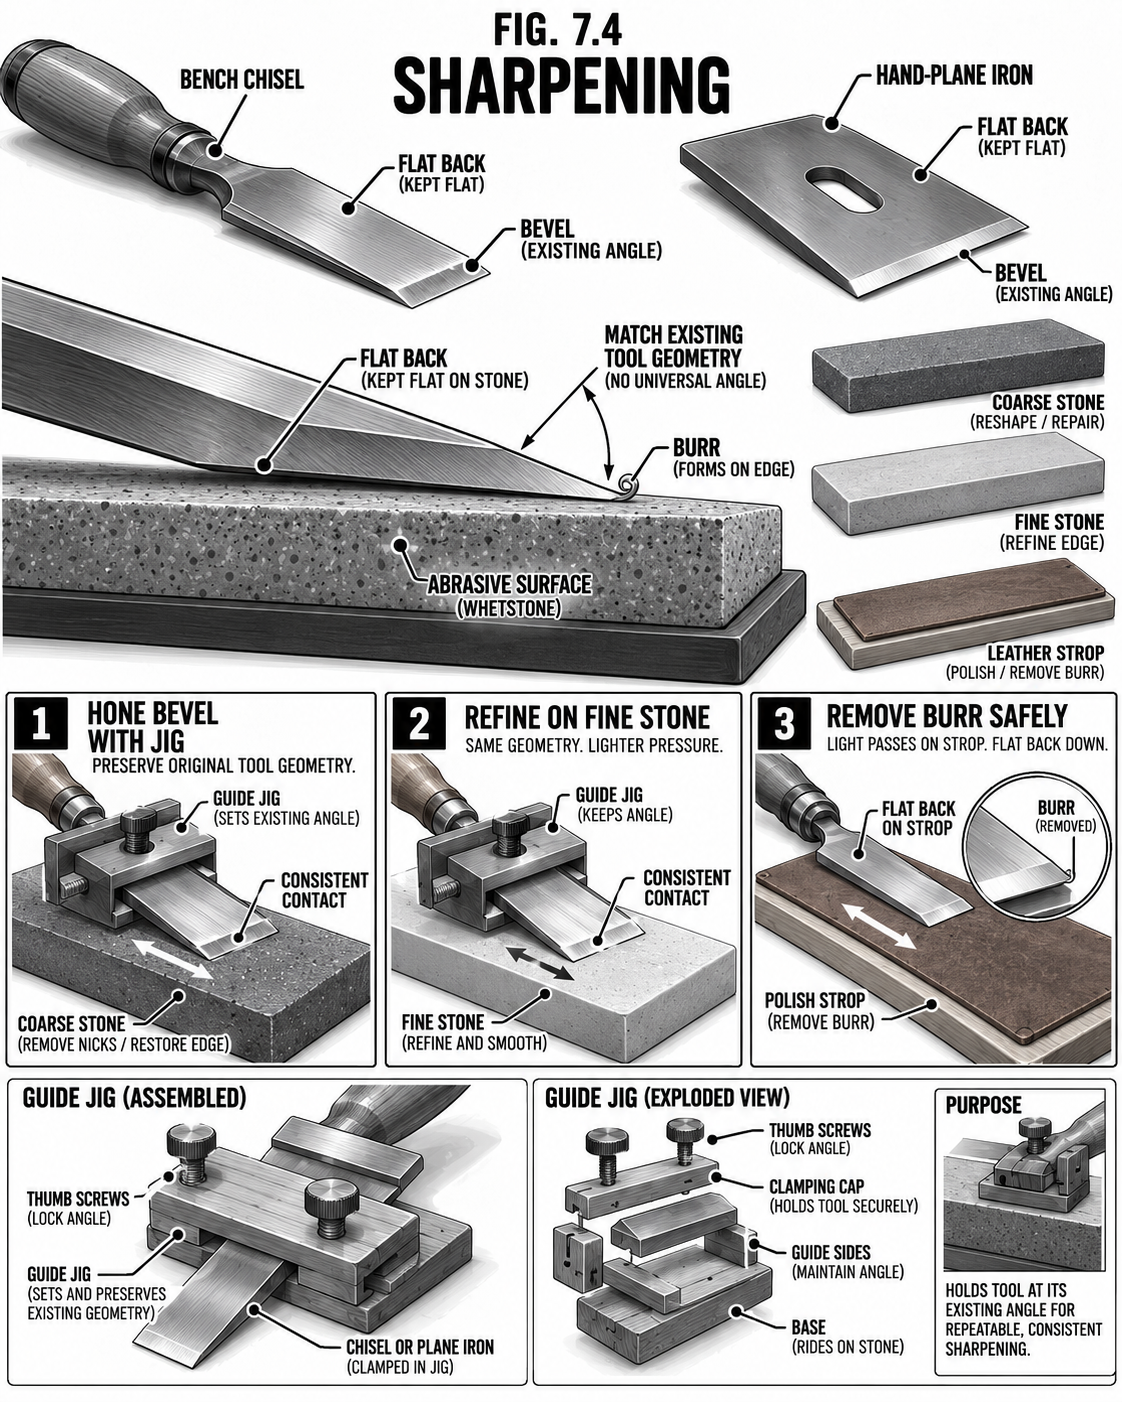
Dull tools do not fail gently; they slip, bind, and cut you. Sharpening is cheap, fast, and the difference between fighting a blade and gliding through work. Hold a consistent angle, go coarse to fine, finish on a strop.
Step by step
Set a steady angle (about 20 degrees for most knives); match it every stroke.
Work a coarse stone until a burr forms along the whole edge, then a fine stone to refine it.
Strop on leather to polish and remove the burr; test on paper.
Safety & code Cut away from yourself, and keep fingers behind the edge. A sharp edge needs far less force, which is exactly why it is safer than a dull one.
Tips & variations A flat stone, a leather strop, and a little practice beat any gadget. Keep an axe and a scythe sharp too, not just knives.
Tools · HouseholdCandles & Soap
Candles & Soap (Lye from Ash)
Light and cleanliness you can make from tallow, wax, and wood ash.
DifficultyIntermediate
TimeHours + cure
CostLow
SkillsCare with lye
Why it is worth it
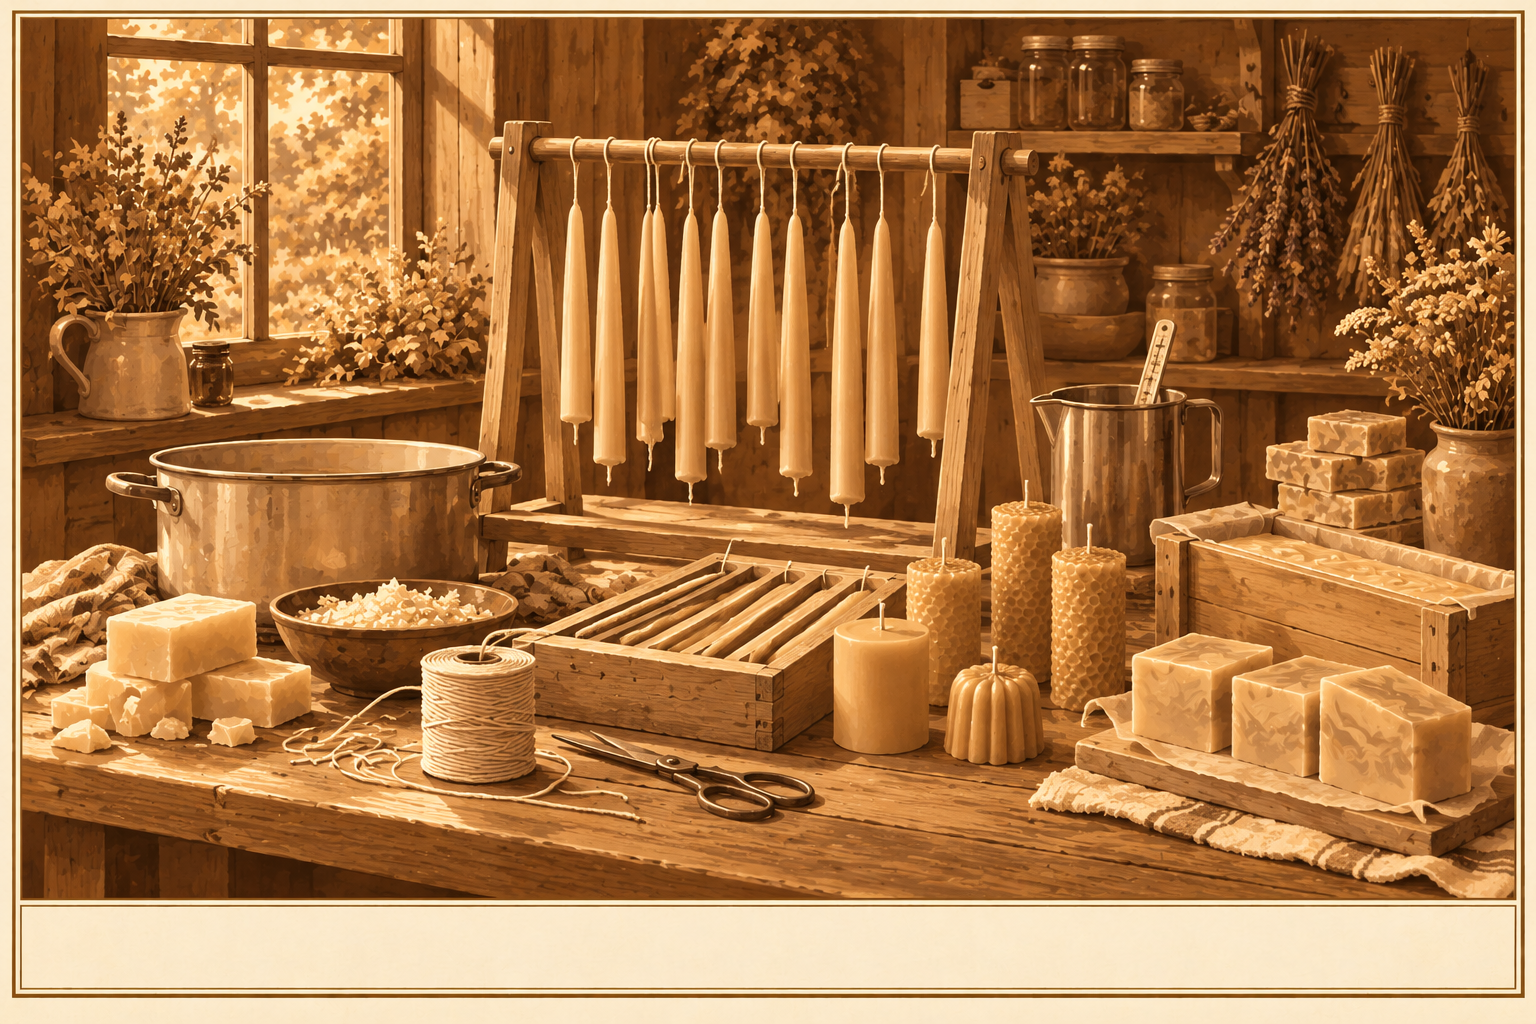
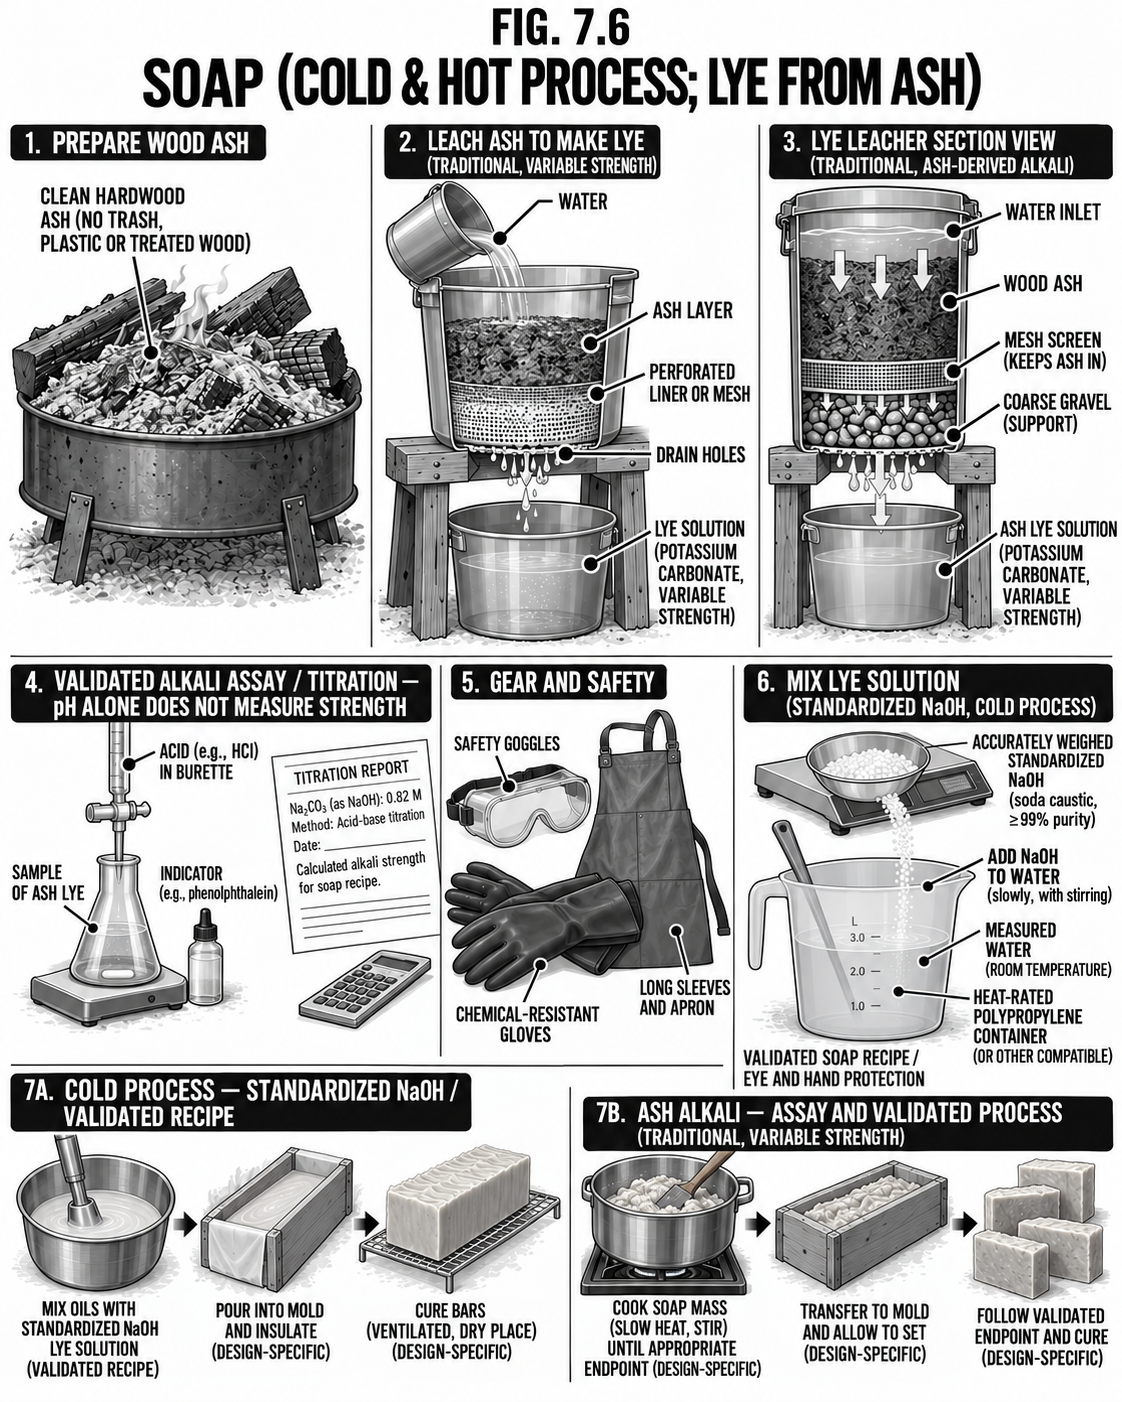
Candles from rendered tallow (Chapter 5) or beeswax give light with no power, dipped or molded. Soap is the old chemistry of fat plus lye: you can even leach your own lye from hardwood ash and water, then cook it with fat into soap. Light and clean, made from the farm.
Step by step
Candles: melt tallow or beeswax, prime a wick, then dip repeatedly or pour into molds.
Lye from ash: drip water through hardwood ashes to leach a strong lye solution (strong enough to float an egg).
Soap: combine fat and lye carefully (cold or hot process), bring to trace, mold, and cure for weeks.
Safety & code Lye is caustic and burns skin and eyes, and it heats violently when mixed with water, so ALWAYS add lye to water (never water to lye), wear gloves and goggles, and work ventilated. Home-leached lye is unknown strength, so test and go slow. Keep children and animals away.
Tips & variations Add a little rendered fat and a known amount of food-grade lye to learn the ratios before trusting ash-lye.
Tools · Fiber & EarthCordage, Tanning, Pottery
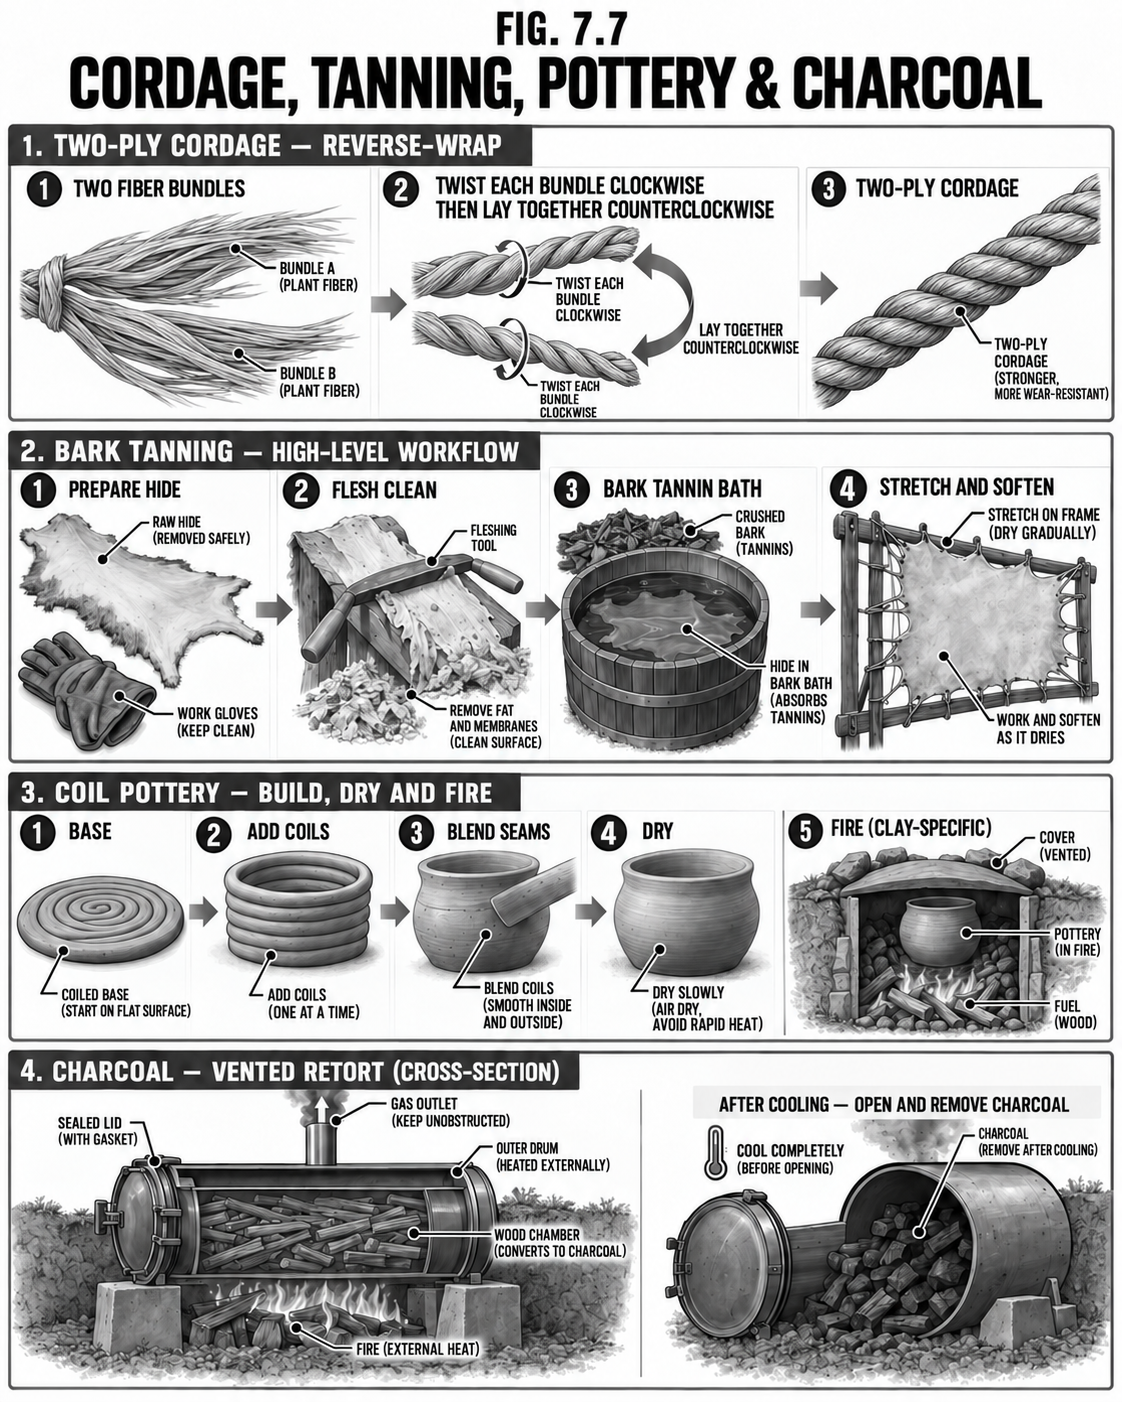
Cordage, Hide Tanning, Pottery & Charcoal
Rope from plants, leather from hides, pots from clay, and charcoal from wood.
DifficultyIntermediate
TimeVaries
CostNear zero
SkillsPatience
The crafts
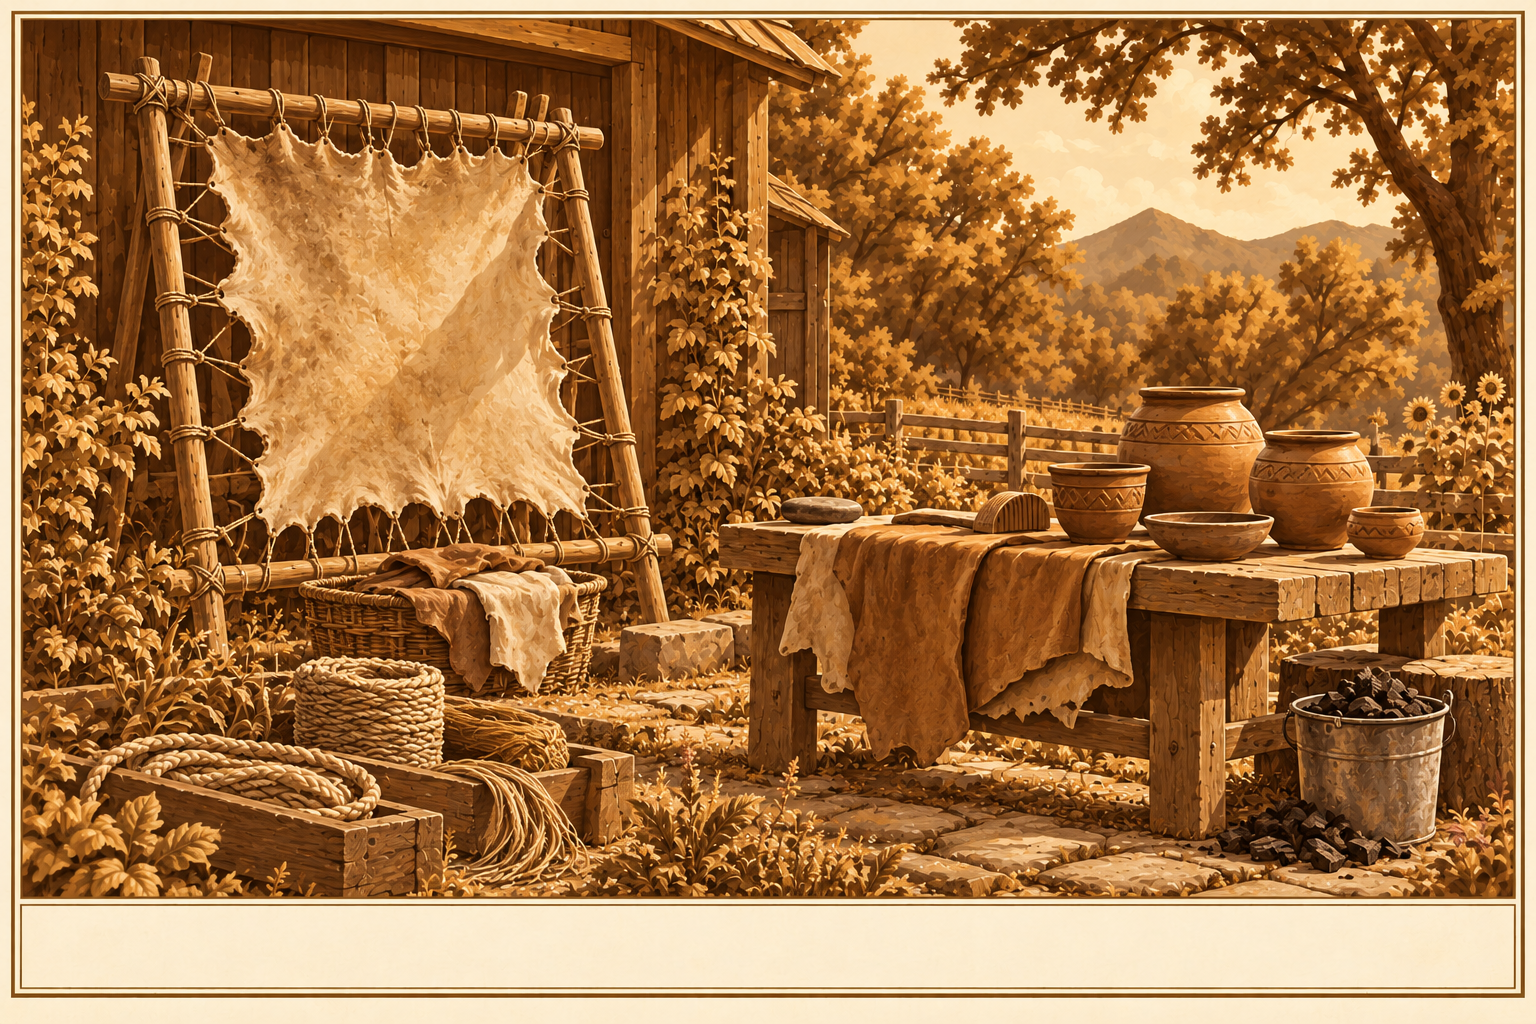
Cordage: twist plant fiber (dogbane, nettle, basswood bark, even long grass) with the reverse-wrap and you have strong rope and twine for free.
Hide tanning: brain-tan or bark-tan a deer hide into soft, durable leather for clothing, bags, and lashings; smoke it to keep it supple.
Pottery: coil or pinch local clay into crocks and bowls, then pit- or kiln-fire them; vessels for storage, cooking, and water.
Charcoal (retort): cook wood without air in a sealed drum to make charcoal for the forge and for water filtering.
Safety & code Tanning uses strong solutions and raw hides (wear gloves, work clean). A charcoal retort runs hot and off-gasses flammable, toxic smoke, so run it outdoors well away from anything that burns. Test home pottery before trusting it with food or fire.
Tips & variations Reverse-wrap cordage is the single most useful bushcraft skill; practice it until your hands know it.
Tools · Light & BenchLighting & Workbench
Oil Lamps & the Homestead Workbench
Light to work by, and the sturdy bench that everything else gets made on.
DifficultyBeginner-Intermediate
TimeA weekend
CostLow
SkillsCarpentry
Lighting
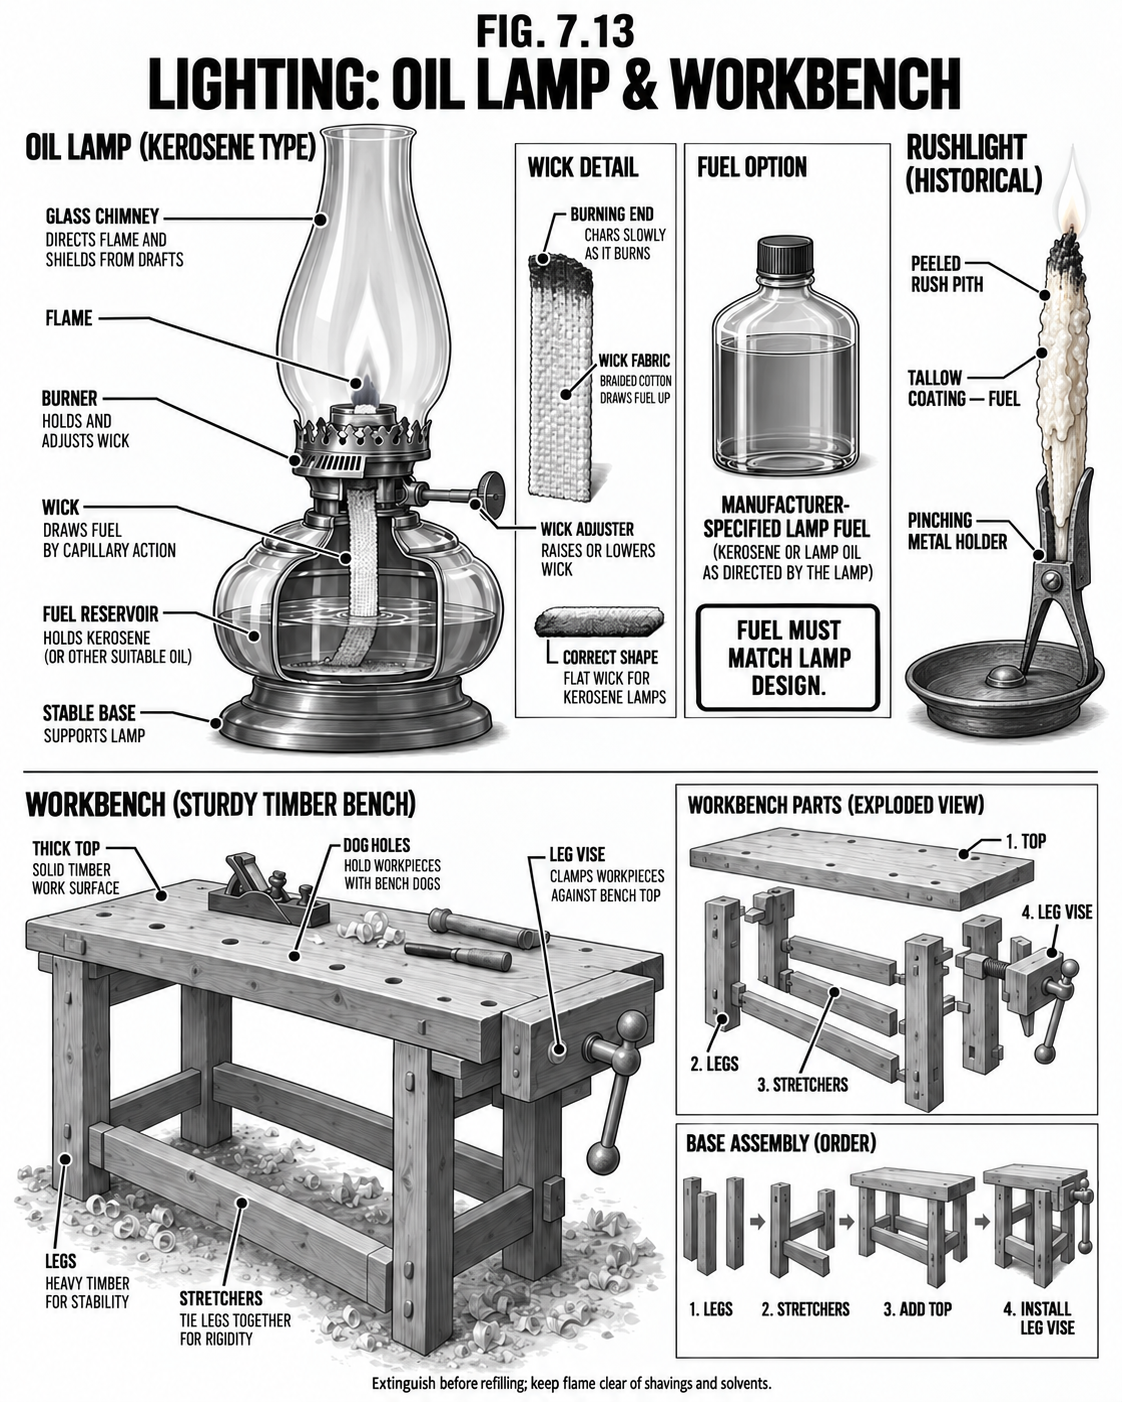
An oil lamp (fat, oil, or kerosene with a wick) or a simple rushlight gives steady light with no power. Know how to trim a wick and adjust the flame so it burns bright and clean, not smoky.
The workbench
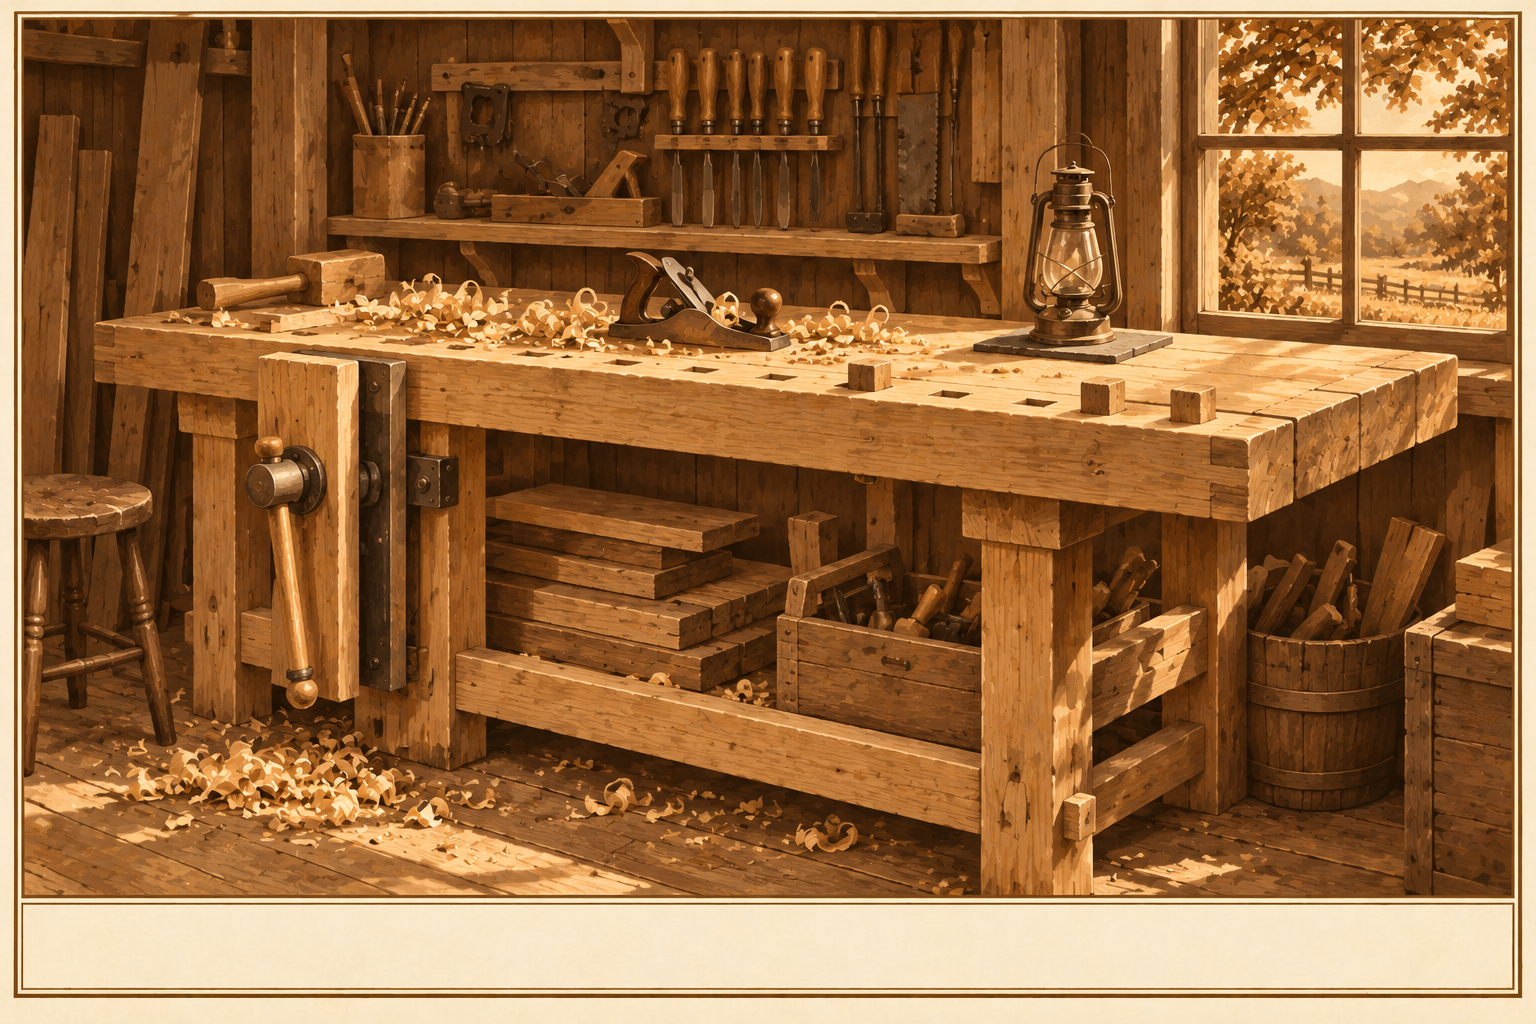
A heavy, flat, rock-solid bench with a vise and dog holes is the foundation of every other project in this book. Build it stout from your own timber; it will outlast you.
Build a massive, racking-proof base and a thick flat top.
Fit a vise (a wooden leg vise is period-perfect and cheap) and bore dog holes for clamping.
Keep it near good light and the forge.
Safety & code Open-flame lamps are a fire risk: use a stable base, keep them away from curtains and bedding, never refill a hot lamp, and never leave one burning unattended or asleep.
Tips & variations A clean-burning oil and a properly trimmed wick give surprising light; a reflector behind the flame doubles it on your work.